On-premise agent
This feature is available to Enterprise customers.
With the On-premise agent (On-prem agent) installed on your system, your scenarios can access applications and databases on your local network without changing the settings of your firewall.

One On-prem agent can connect to many applications that are located in the same network. Currently, we provide an HTTP Agent app that allows for a connection with other custom systems that provide an API or a web service.


To start using an On-prem agent in your scenario, you need to:
- CreateCreate a new On-prem agent in the On-prem agents section of the Organization dashboard.
- Connect a systemConnect a system (an application) to the installed On-prem agent.
- Create a connection between Make and the connected system when adding the application module in your scenario.
Add an On-prem agent
The installation process consists of three steps:
- Create an On-prem agent in the On-prem Agents section, in Make.
- Download the On-prem agent to your device.
- Install the On-prem agent on your device.
Only users with the Owner, Admin, and App dev organization roles can perform all three steps.
Create an On-prem agent
To create an On-premise agent:
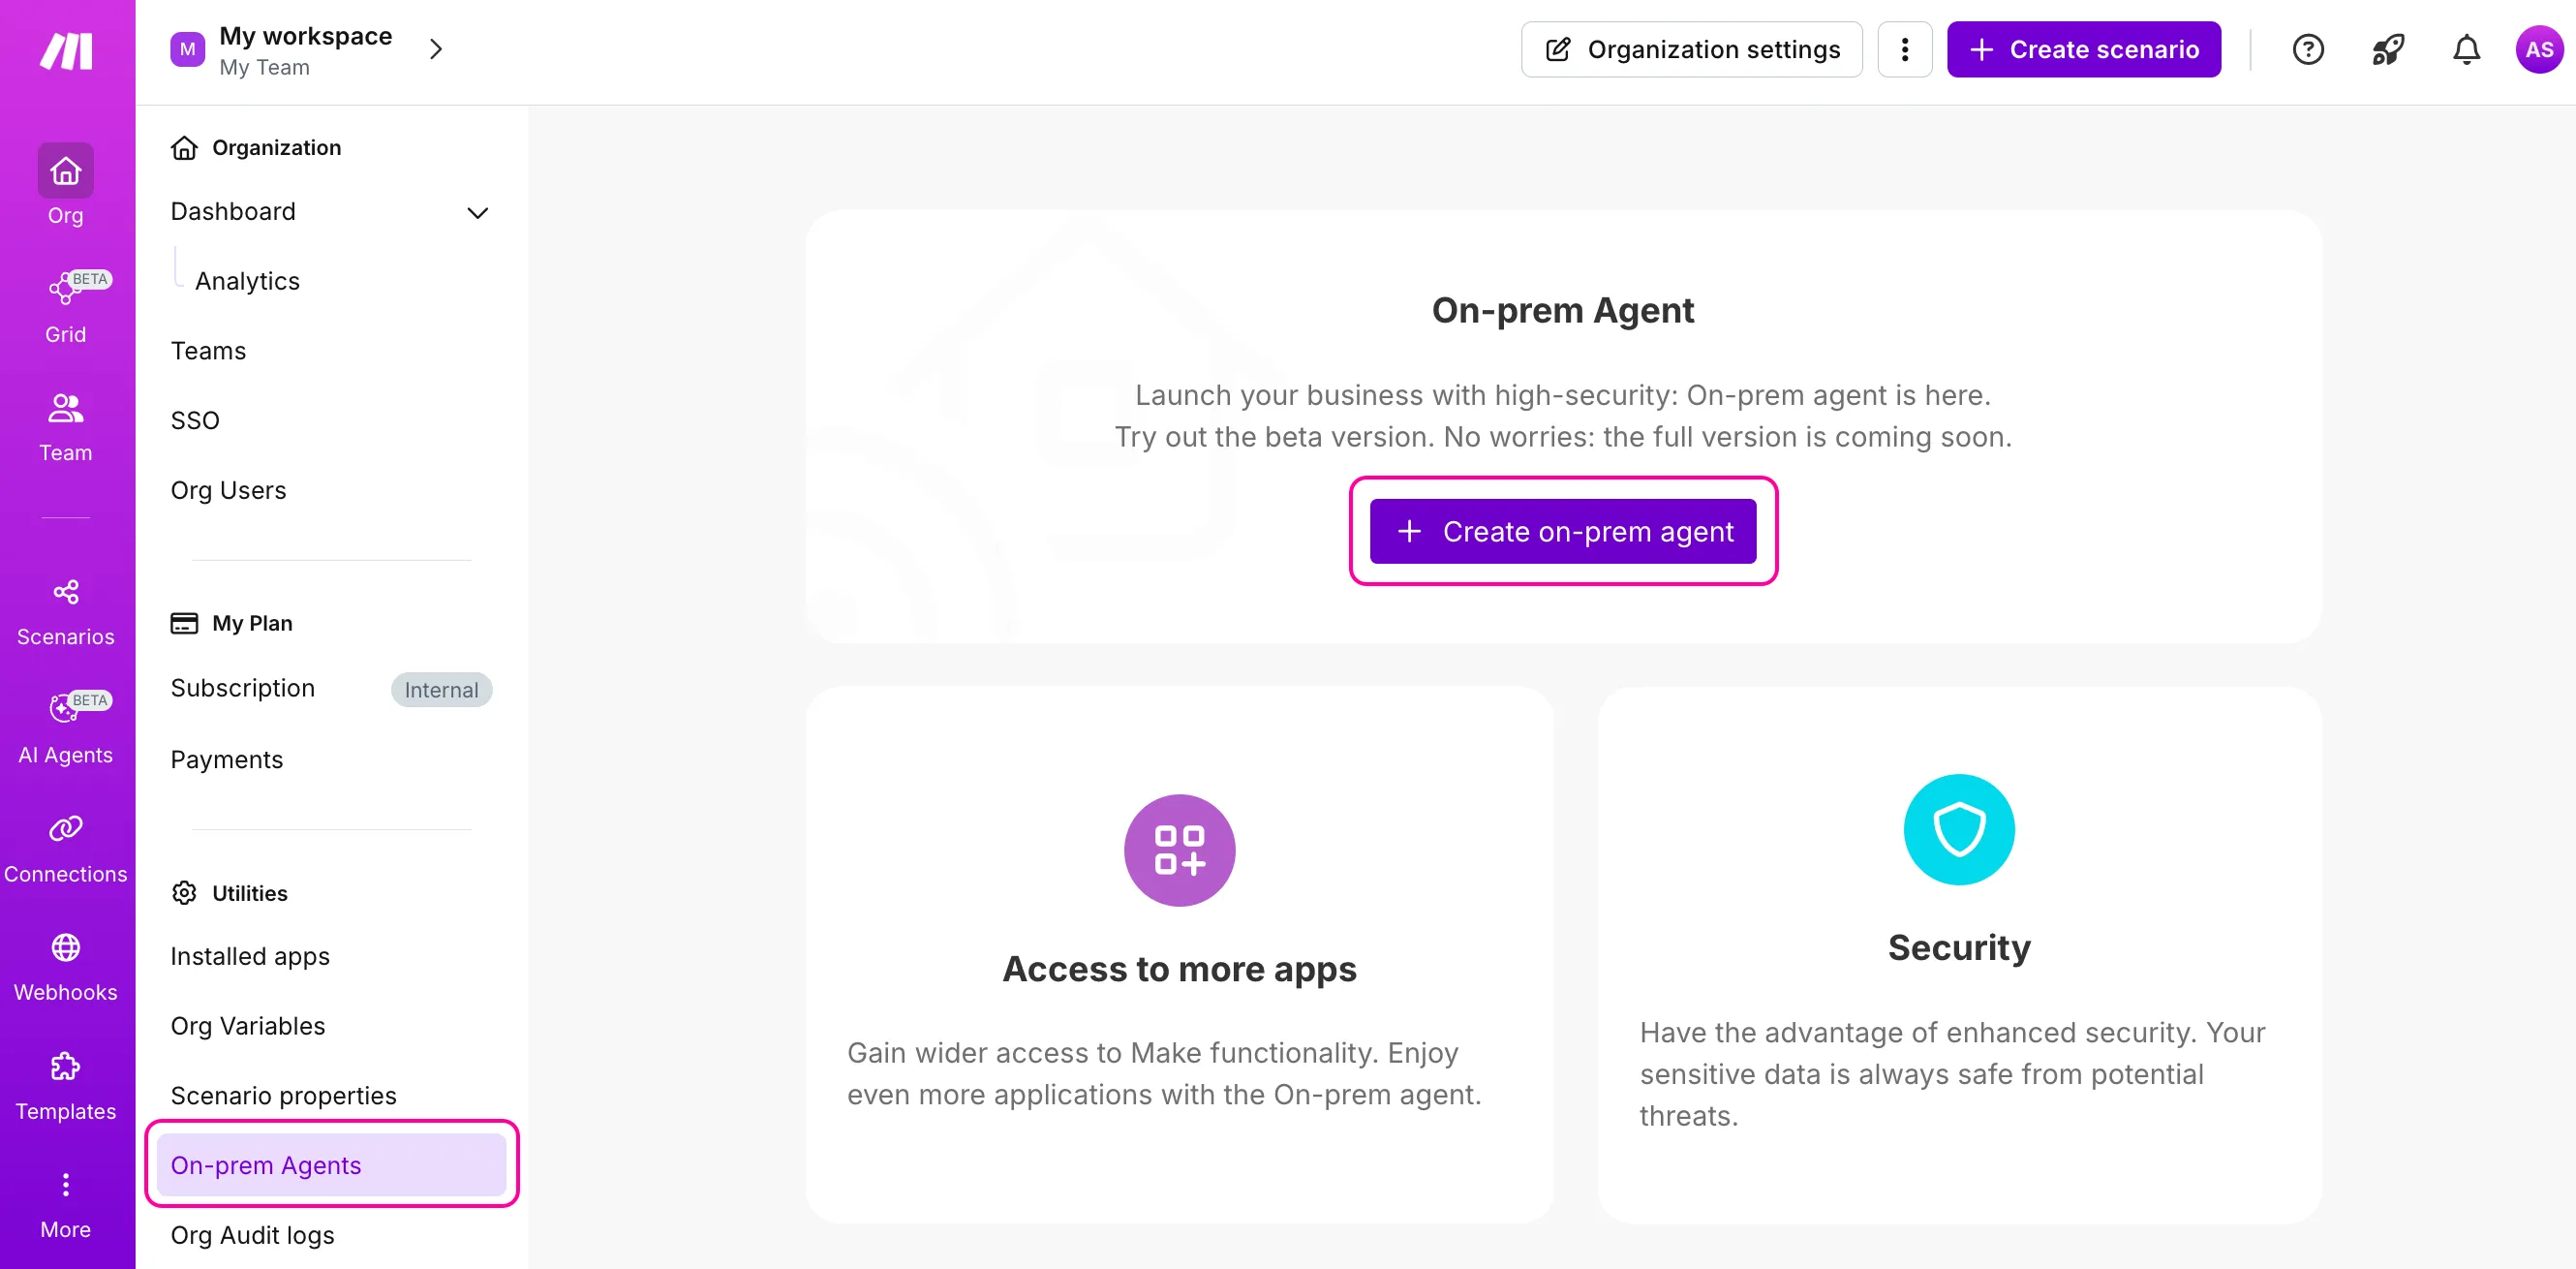
In the left sidebar, click Org.
Switch to the On-prem Agents tab.
Click + Create on-prem agent.
In the On-prem agent name field, enter the agent name, and click Create agent.

A dialog box with credentials appears.

Save the Client ID, the Secret, and the Base URL in a safe place. You will need these credentials in the installation stage later.
Make sure to save the credentials in a secure location. This is the only time when Make shows the On-prem agent credentials.
Check the I saved my credentials box.
Click Download installer.
Make redirects you to the download page, where you can choose your device OS and download the On-prem agent installerdownload the On-prem agent installer.
Download the On-prem agent
To run the On-prem agent on your device, you need to download its installation package:
Once you click Download installer as described in step 8 in Create an On-prem agent section, you'll be redirected to the installation page. Select your device's operating system and click Download.
For macOS, download the file for Linux.

If the auto-download doesn't start automatically, use the link instead.
Define where you want to save the On-prem agent installation package on your device.
Click Save.
Install the On-prem agent
Installation is the last step you need to start using the On-prem agent in Make. Here you will find steps for installing the On-prem agent on Windows, macOS, and Linux.


Connect a system
Once you have installed the On-prem agent, you can connect it to an application (a connected system). You can connect several systems to one On-prem agent.
Only users with the Owner, Admin, and App dev organization roles can connect a system.
Connect the HTTP system
In the left sidebar, click Organization.
Click the On-prem agents tab.
Click Connect system.
In the Name field, insert a connection name. This name appears when adding an application module to a Make.
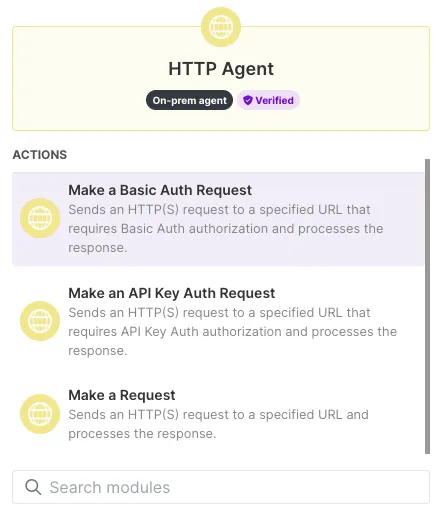
In the Choose app to connect dropdown list, select the HTTP Agent app.
Define the base URL to the application API.
The URL contains a host, a port, and a definition of API for a particular app. If the app runs on the same device where the On-prem agent is installed, the host is localhost. If the app runs on another device, the host is the device IP address. The port and the API definition vary based on the app.
In this example URL https://localhost:3000/api
- the host is localhost
- the port is 3000
- the definition of API is /api
In the URL field, insert the URL to the application API.
Click Save.
In the connected systems list, you will see a new connection that works with this specific On-prem agent. Now you can start building a scenario.
You might be asked to renew the access to the connected system after a certain period of time. If so, click Revoke in the Connected systems section.
Create a connection in the scenario
To create a connection, go to the Scenario Builder.
Click Create a new scenario.
Select the HTTP Agent from the dropdown list.
Select a module and connect it to Make.
Finish configuring the module settings.
After adding the module, you can continue building your scenario. The module uses your selected On-prem agent.
Currently, Make supports only HTTP Agent application for the On-prem agent usage.
On-prem agent status
The following table explains On-prem agent statuses.
Status | Description | Recommended next steps |
|---|---|---|
Active | The On-prem agent is installed on your device and works under normal conditions. You can connect a system to it and use it in scenarios. | |
Not responding | The On-prem agent is disconnected. Make checks its activity every four minutes. If the On-prem agent doesn't respond, it means the Internet connection is lost. | When in Not responding status, associated scenarios still run, but the module using the On-prem agent shows a 500 error. |
Registered | The On-prem agent is created and appears in the On-prem agents section. |
|
Stopped | The On-prem agent was stopped manually. | Make your On-prem agent active again if needed. |
Troubleshooting
Here you can find solutions for the most common issues when working with the On-prem agent in Make.
