Scenarios for AI agents
This page reflects a previous version of Make AI Agents. For the latest information, see Make AI Agent (New).
When you use a scenario as a tool for an AI agent, you need to create a scenario (or choose an existing one), and specify its name and description. Unlike module tools, scenarios require you to define the scenario inputs and outputs so that the agent knows how to handle the data it receives and returns.
To use a scenario as a tool for an AI agent, make sure it's active and scheduled On demand. You can also use scenarios triggered by a Custom webhook.
Create a scenario
You can create a scenario for an AI agent in the AI Agents configuration tab or in the Make AI Agents > Run an agent module.
To create a scenario for an AI agent in the AI Agents configuration tab:
Go to the AI Agents configuration tab on the left sidebar.
Select an agent where you want to add a scenario.
In the Tools section, click Add, and select Scenario.

Click Create scenario.
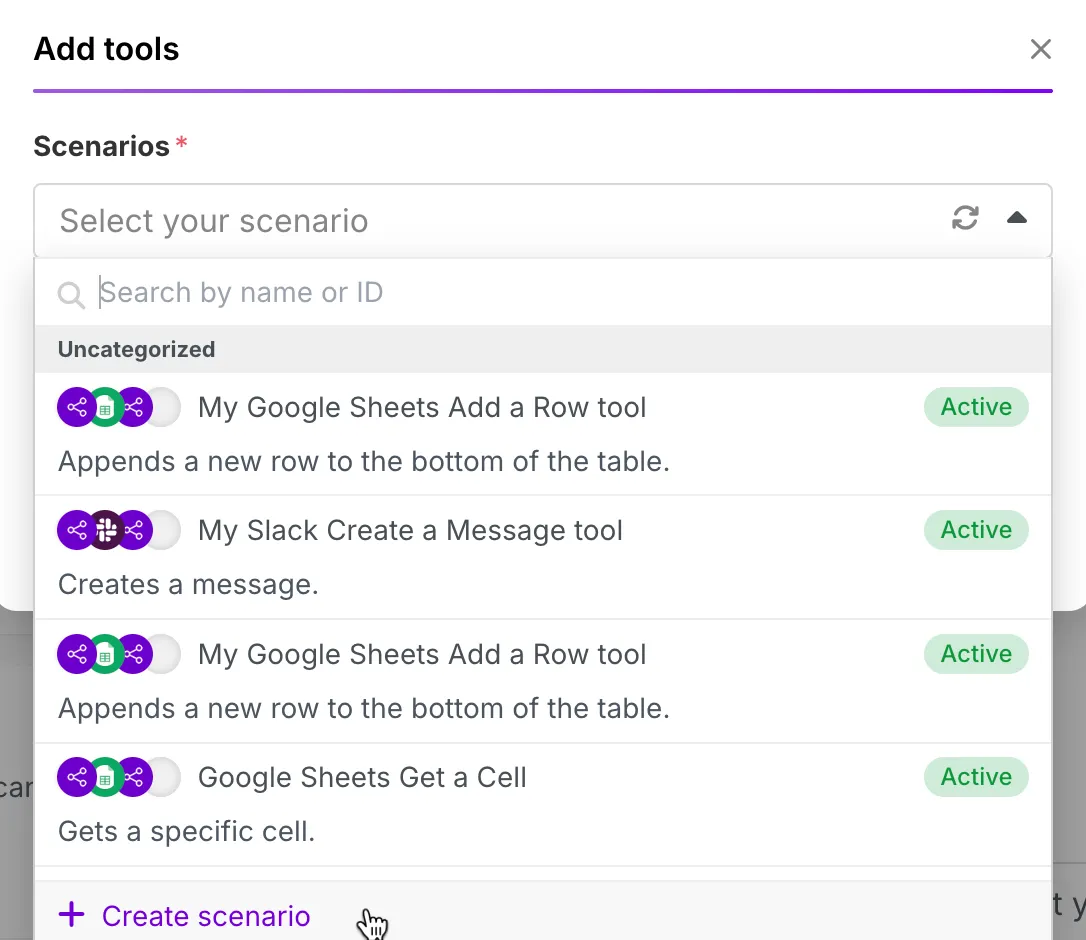
Configure the scenario:
- Enter scenario's Name and Description.
- Define scenario inputs and outputs:
- Name: The name of the input (e.g., "city")
- Description: The description of the input (e.g., "City we want to get the weather report from")
- Type: The data type (e.g., Text for a city name)
Click Create scenario.

To create a scenario for an AI agent in the Make AI Agents > Run an agent module:
Open the Make AI Agents > Run an agent module in a scenario.
In the Agent field, select your agent.
In the Tools section, click Add, and select Scenario.

Follow the same steps as when creating a scenario tool in the AI Agents configuration tab.
Once the scenario is created, add modules to it:
Click the scenario or the Edit button, and then click the giant plus.

Choose the module you want to add.
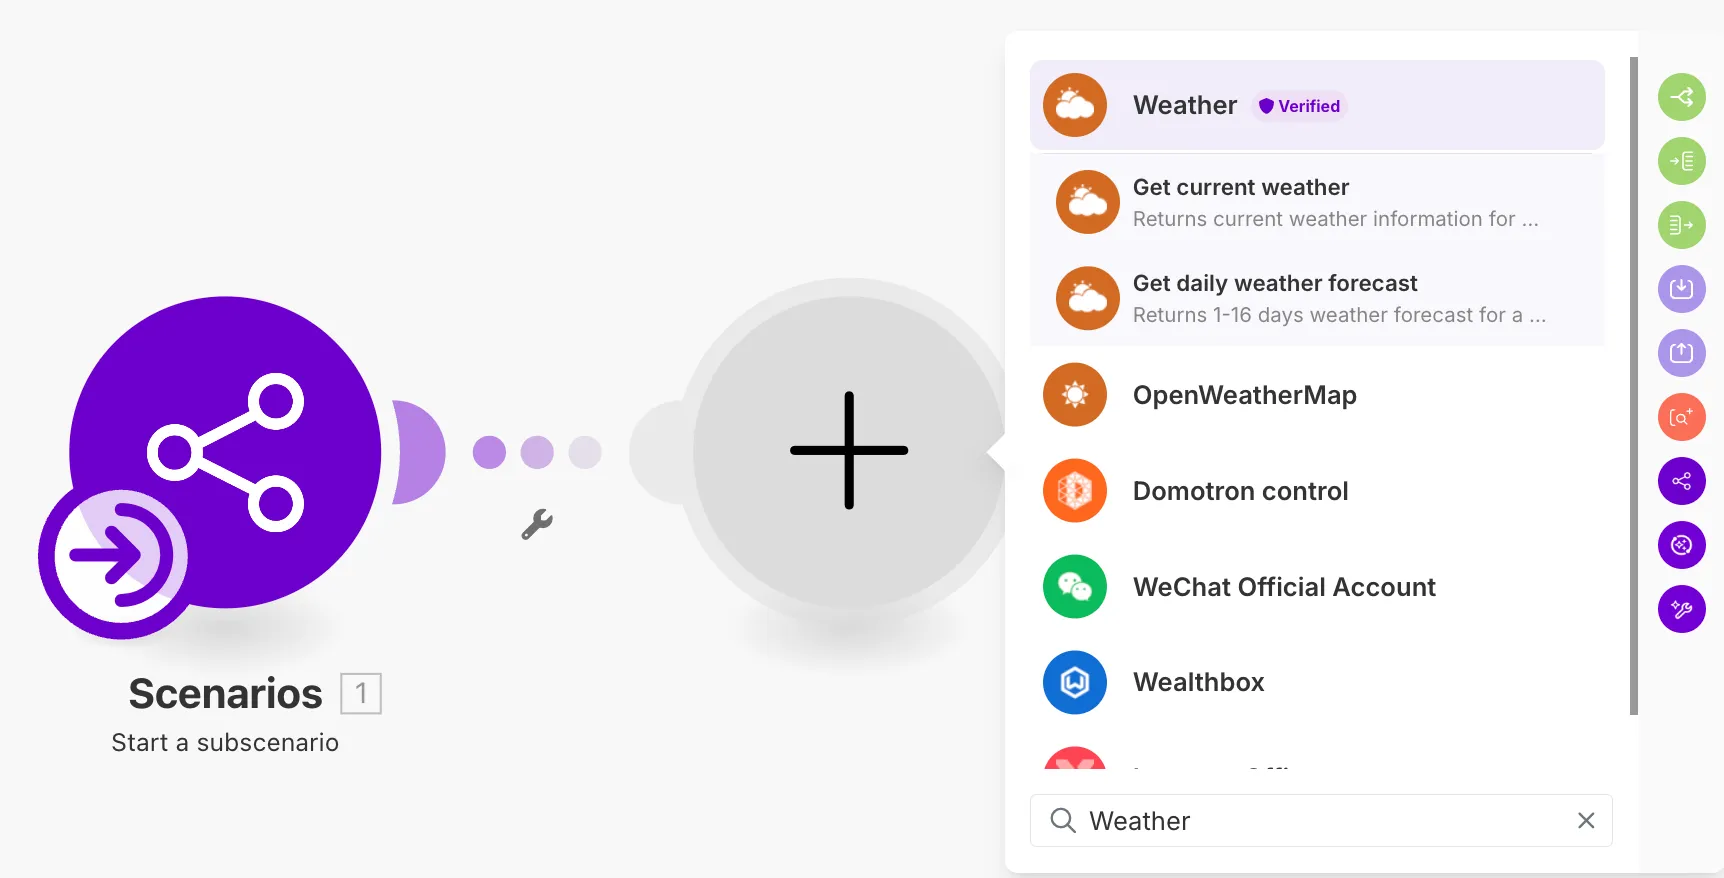
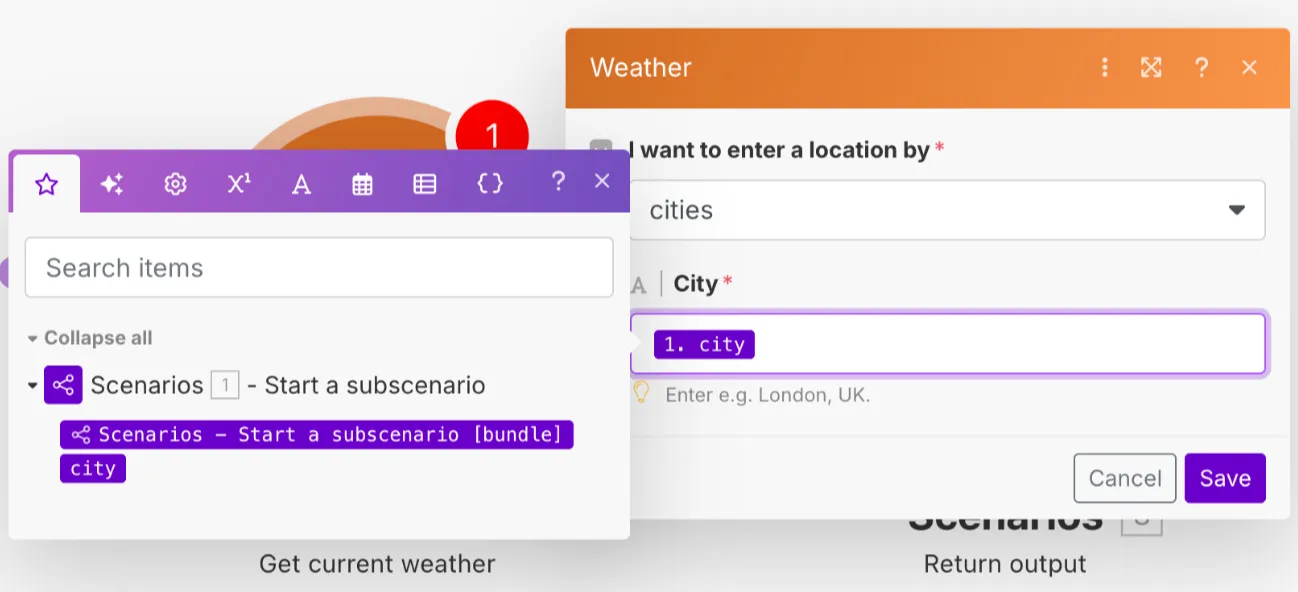
Map the corresponding scenario inputs you've added in step 5, and click Save.
In the Toolbar, click Save to save the scenario, check if it's scheduled to run On demand and activate it. This is required to use a scenarioas a tool for AI agents.

Go back to the AI Agent configuration tab, click Add > Scenarios, select the scenario you've created, and click Save in the top-right corner to save the changes in your AI Agent.

You can see below that a scenario with a single module looks the same as the scenario created for a module tool. The difference is:
- With a module tool, Make automatically creates the scenario with inputs and outputs. You can't edit it in the Scenario Builder unless you convert it to a scenario.
- With a scenario tool, you have to add manually the module you want to use, do the mappings for the scenario inputs/outputs, and edit scenarios afterward.
Thus, if you don't plan to add additional modules or build a more complex workflow, we recommend using a module tool instead.

Now you can use your as a tool for an AI agent. You can test it by typing a request in the Testing & Training chat.

You can find the scenarios created for AI agents in the All scenarios folder.
Edit a scenario
To edit a scenario for an AI agent:
Go to the Tools section of the AI agent configuration tab, and click the expand icon next to the scenario.

Alternatively, within the Make AI Agents > Run an agent module, select your agent, and click the expand icon next to the scenario.

Or just go to the All scenarios folder and select the required scenario from the list.

In all cases, you will be redirected to the scenario diagram. Click Edit in the top-right corner, make the required changes, and save your scenario.

Once you're done editing the scenario, ensure the scenario is active and scheduled to On demand.
Delete a scenario
To delete a scenario for an AI agent:
Go to the Tools section of the AI agent configuration tab, click the delete icon next to the scenario.
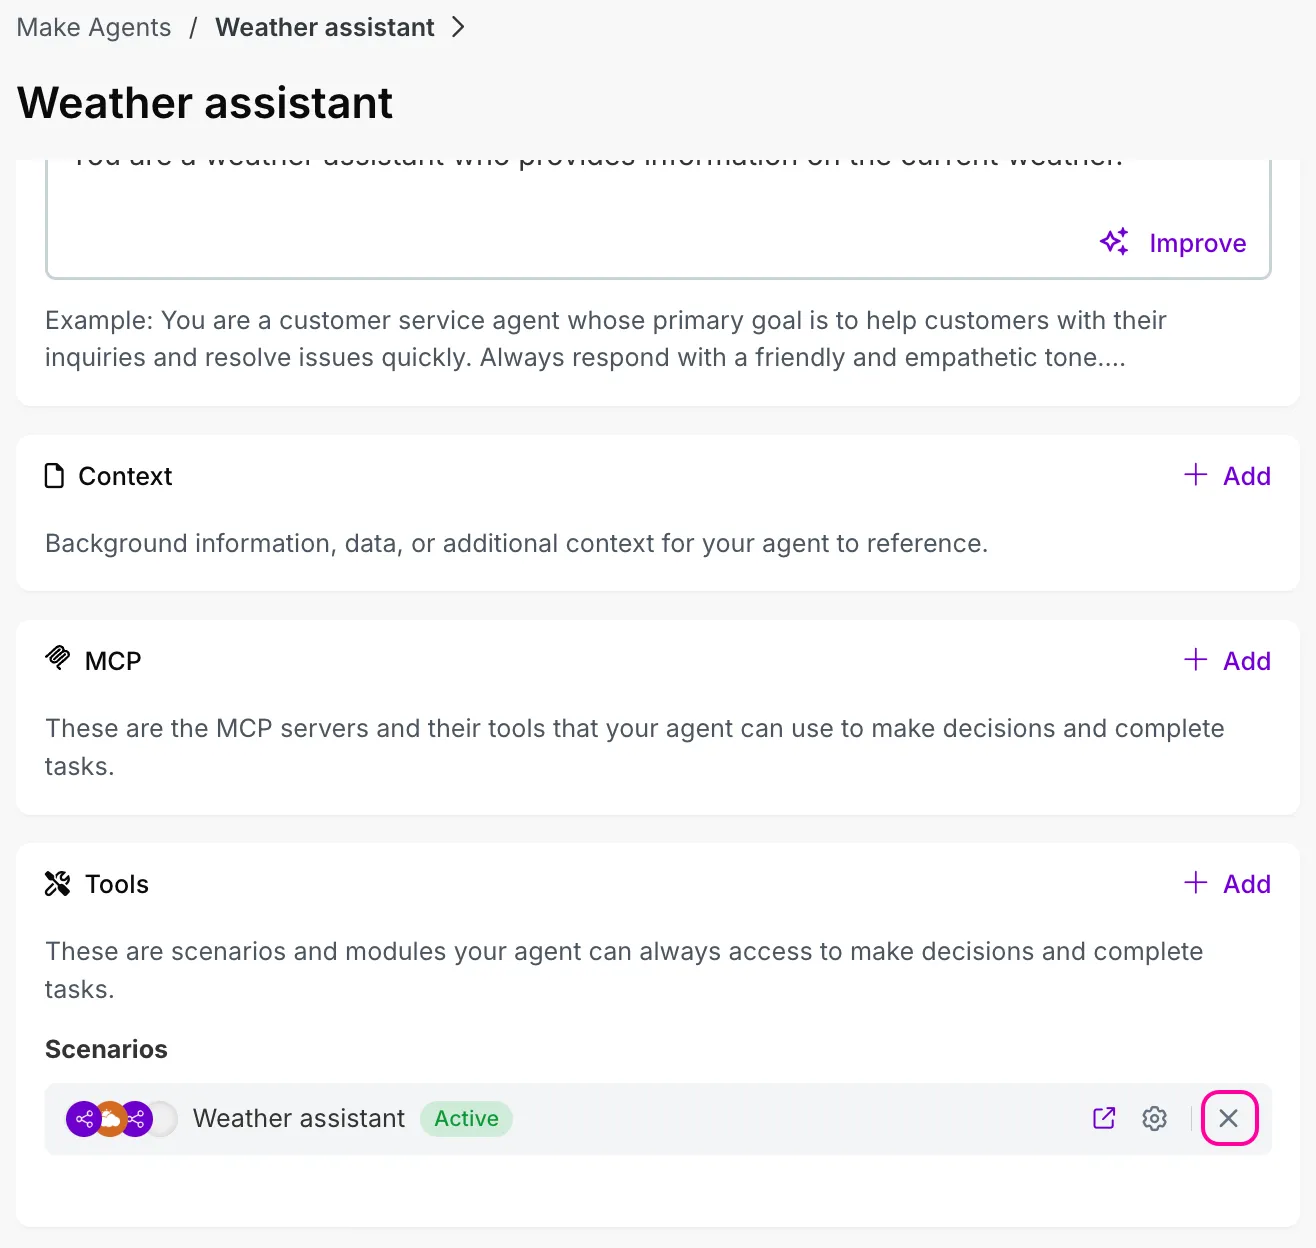
Alternatively, within the Make AI Agents > Run an agent module, select your agent and click the delete icon next to the scenario.

Your scenario will be deleted from all instances of the agent across all scenarios. However, it will still be available in your All scenarios folder.