Step 2. Add a router
A router allows you to split your scenario flow into multiple routes. Think of it like a fork in the road where your data can follow different paths based on your scenario requirements. This lets you process the same information in different ways - for example, sending all prospect notifications to Slack while only sending specific ones to mobile devices.
To add a router to your scenario:
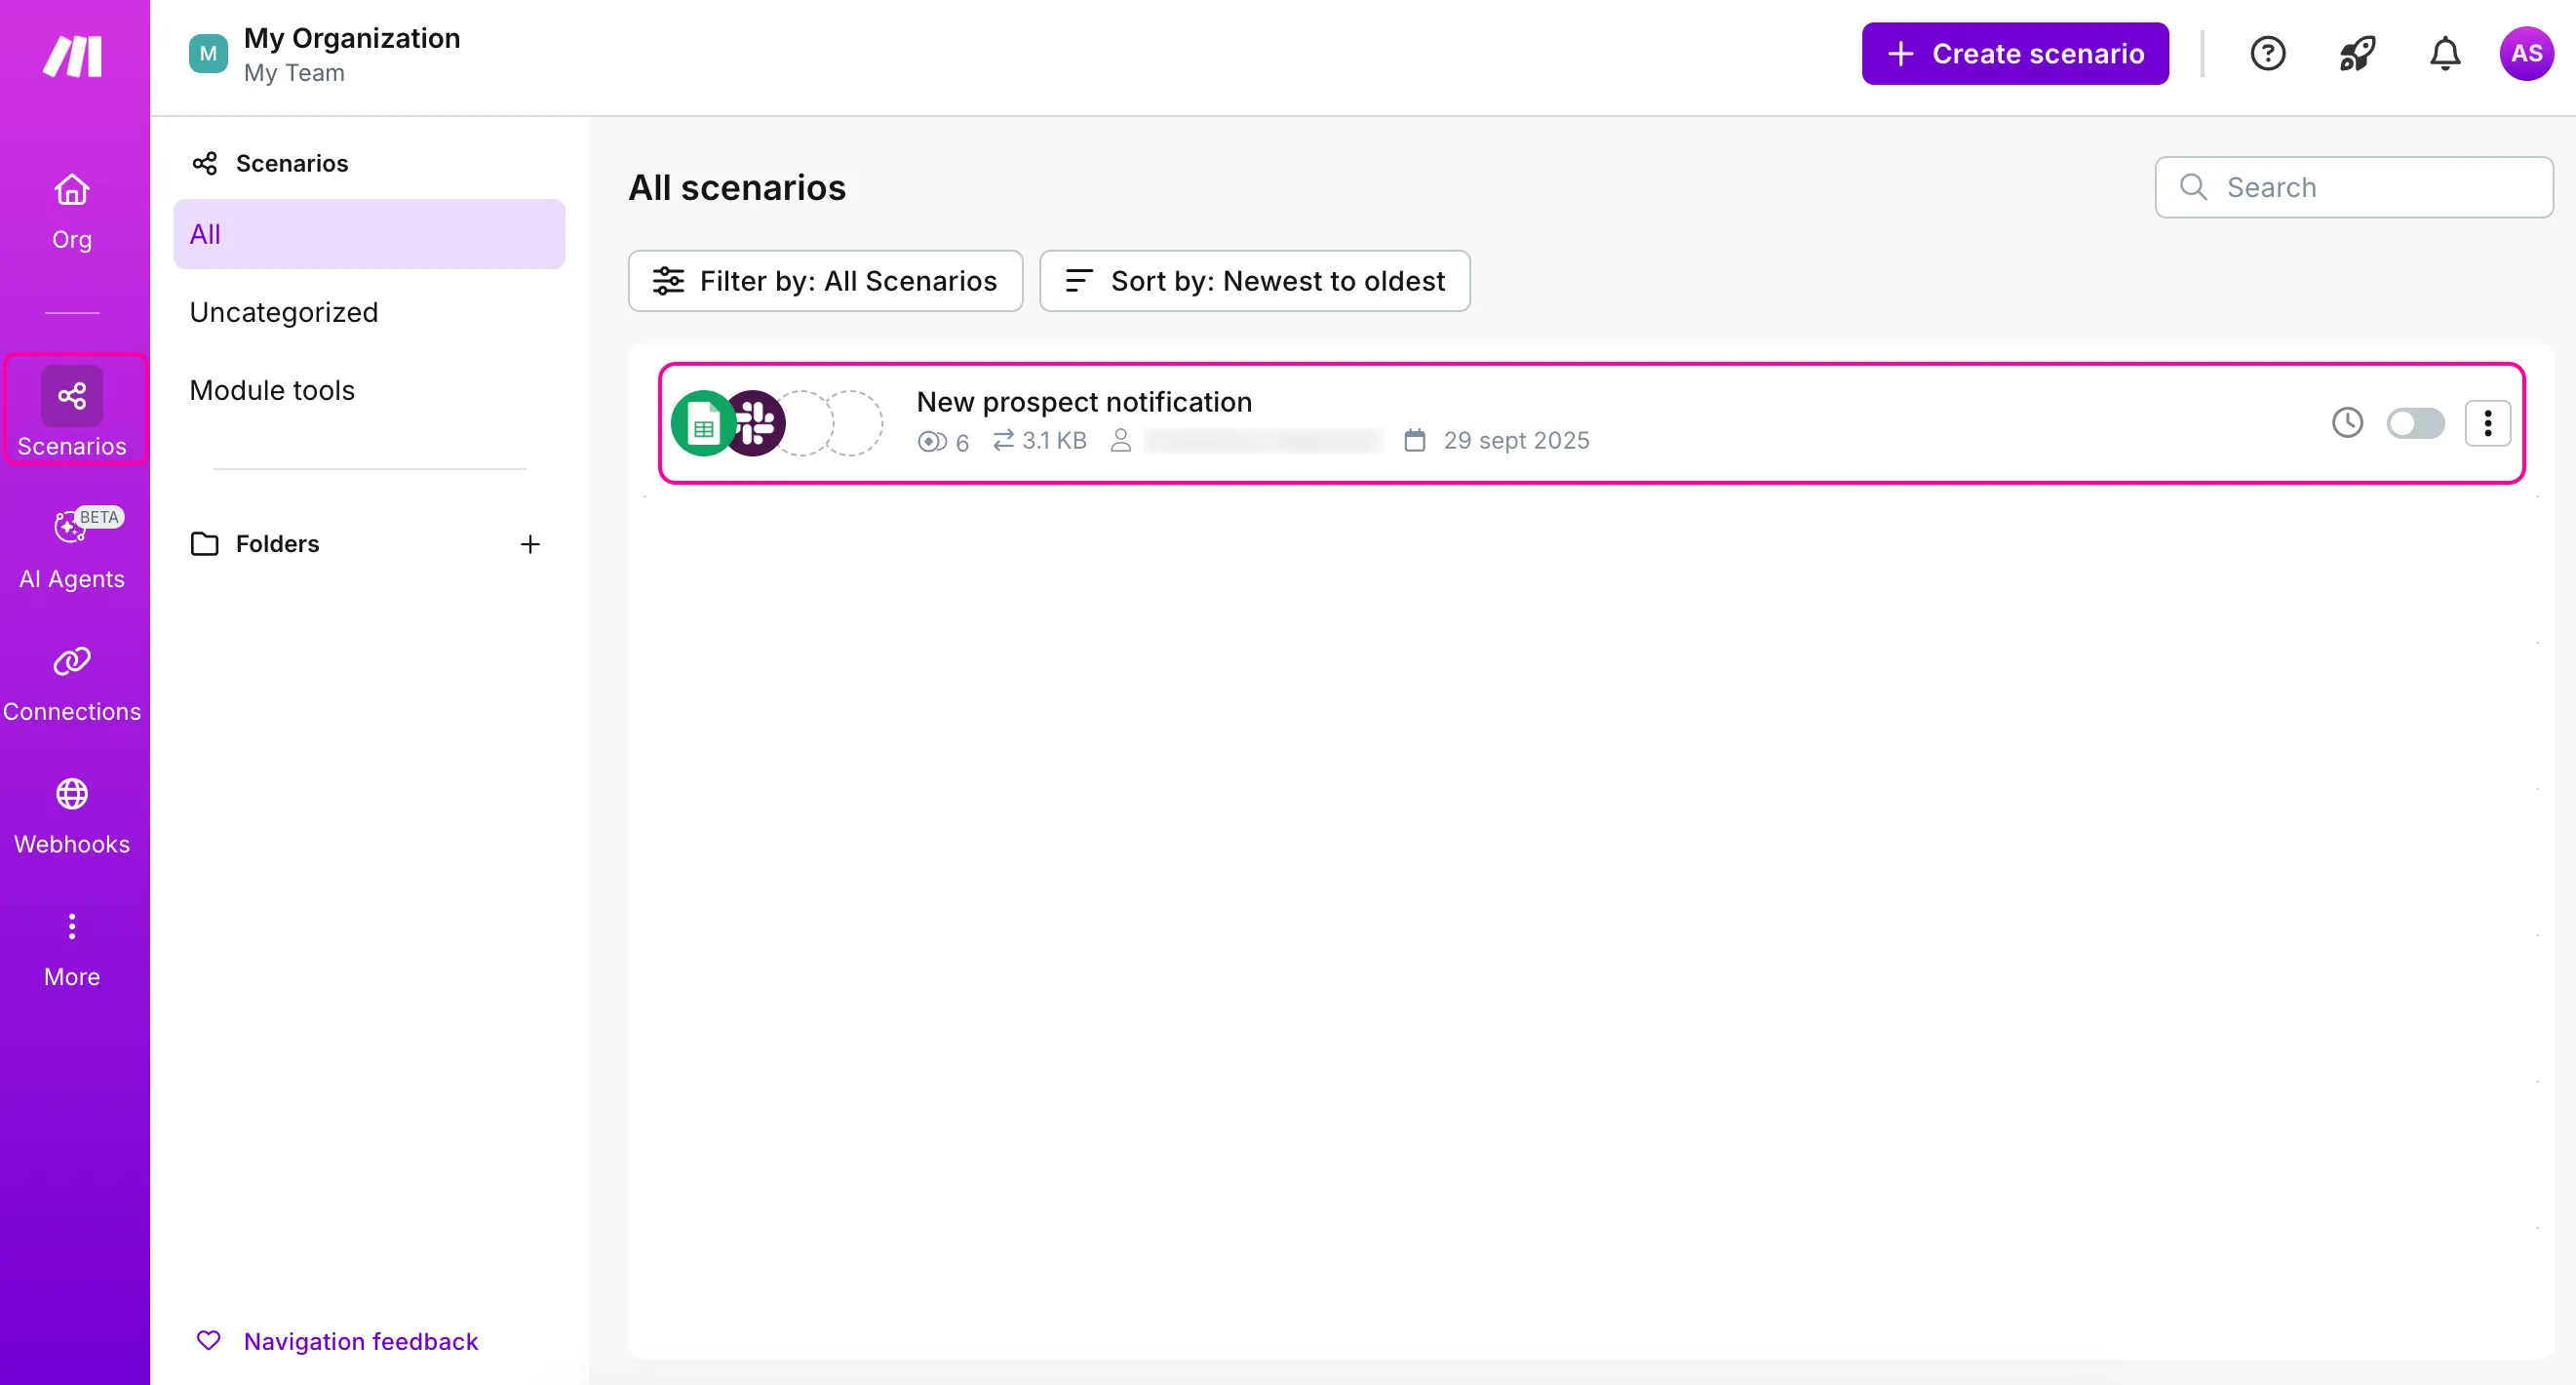
In the left sidebar, click Scenarios and select the New prospect notification scenario you built in the Create your first scenario section.
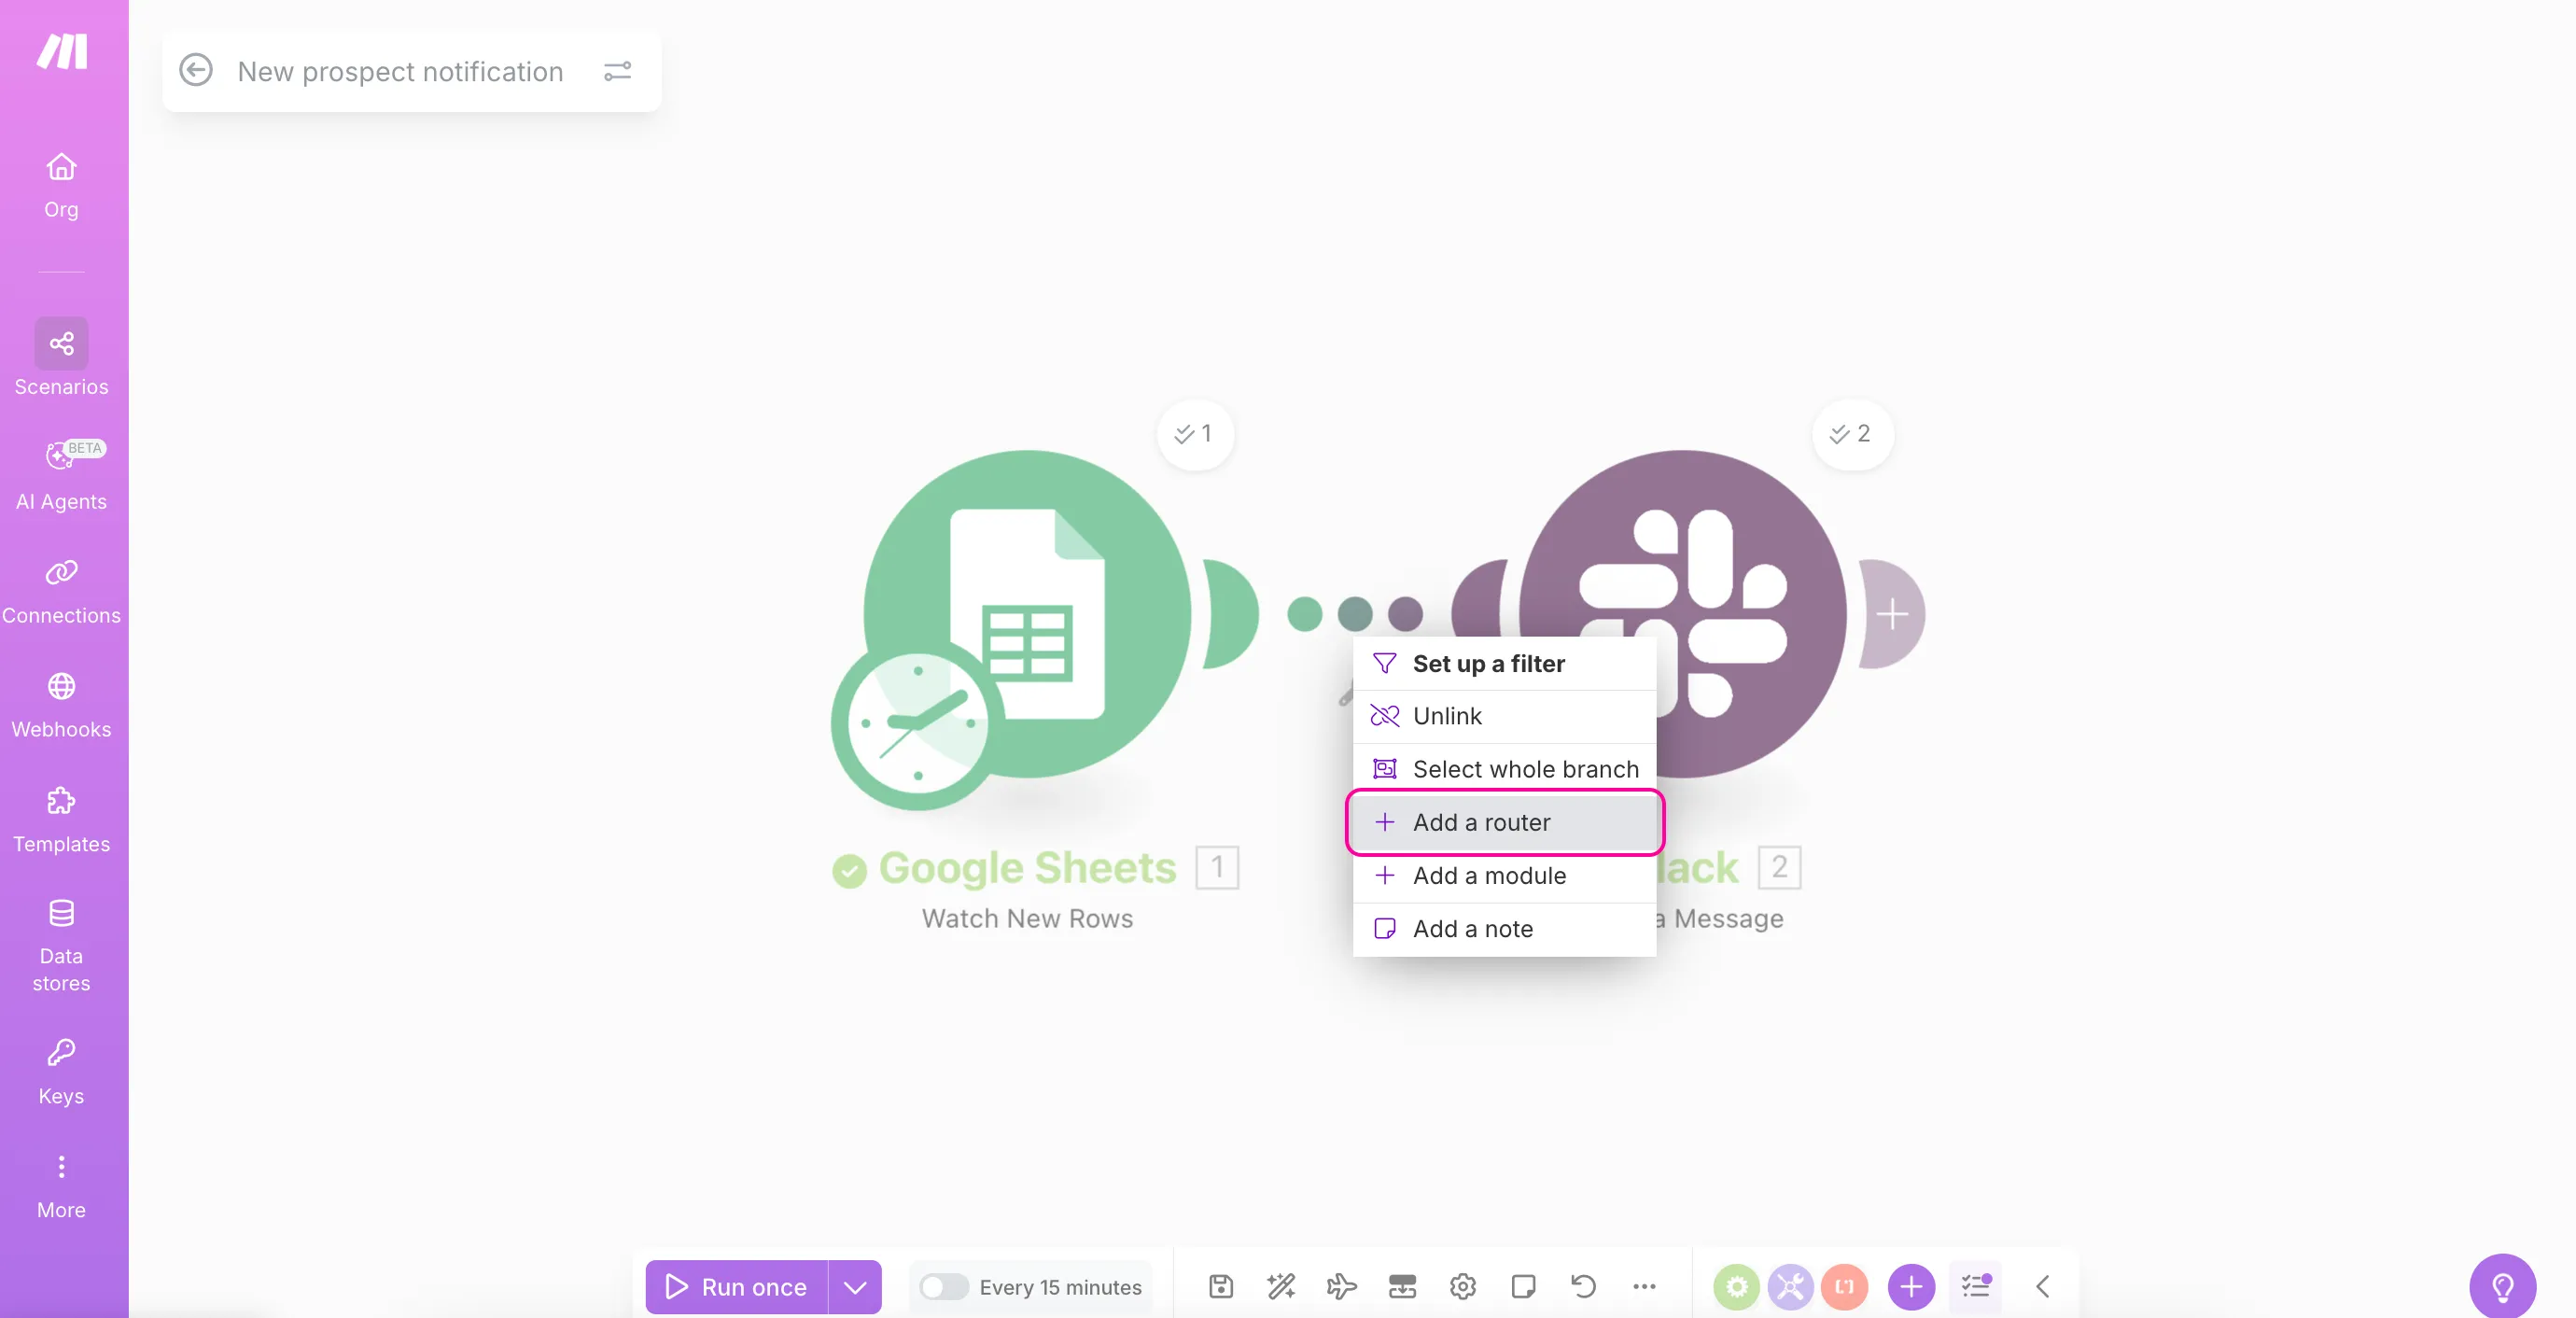
Right-click between the Google Sheets and Slack modules and select Add a router.
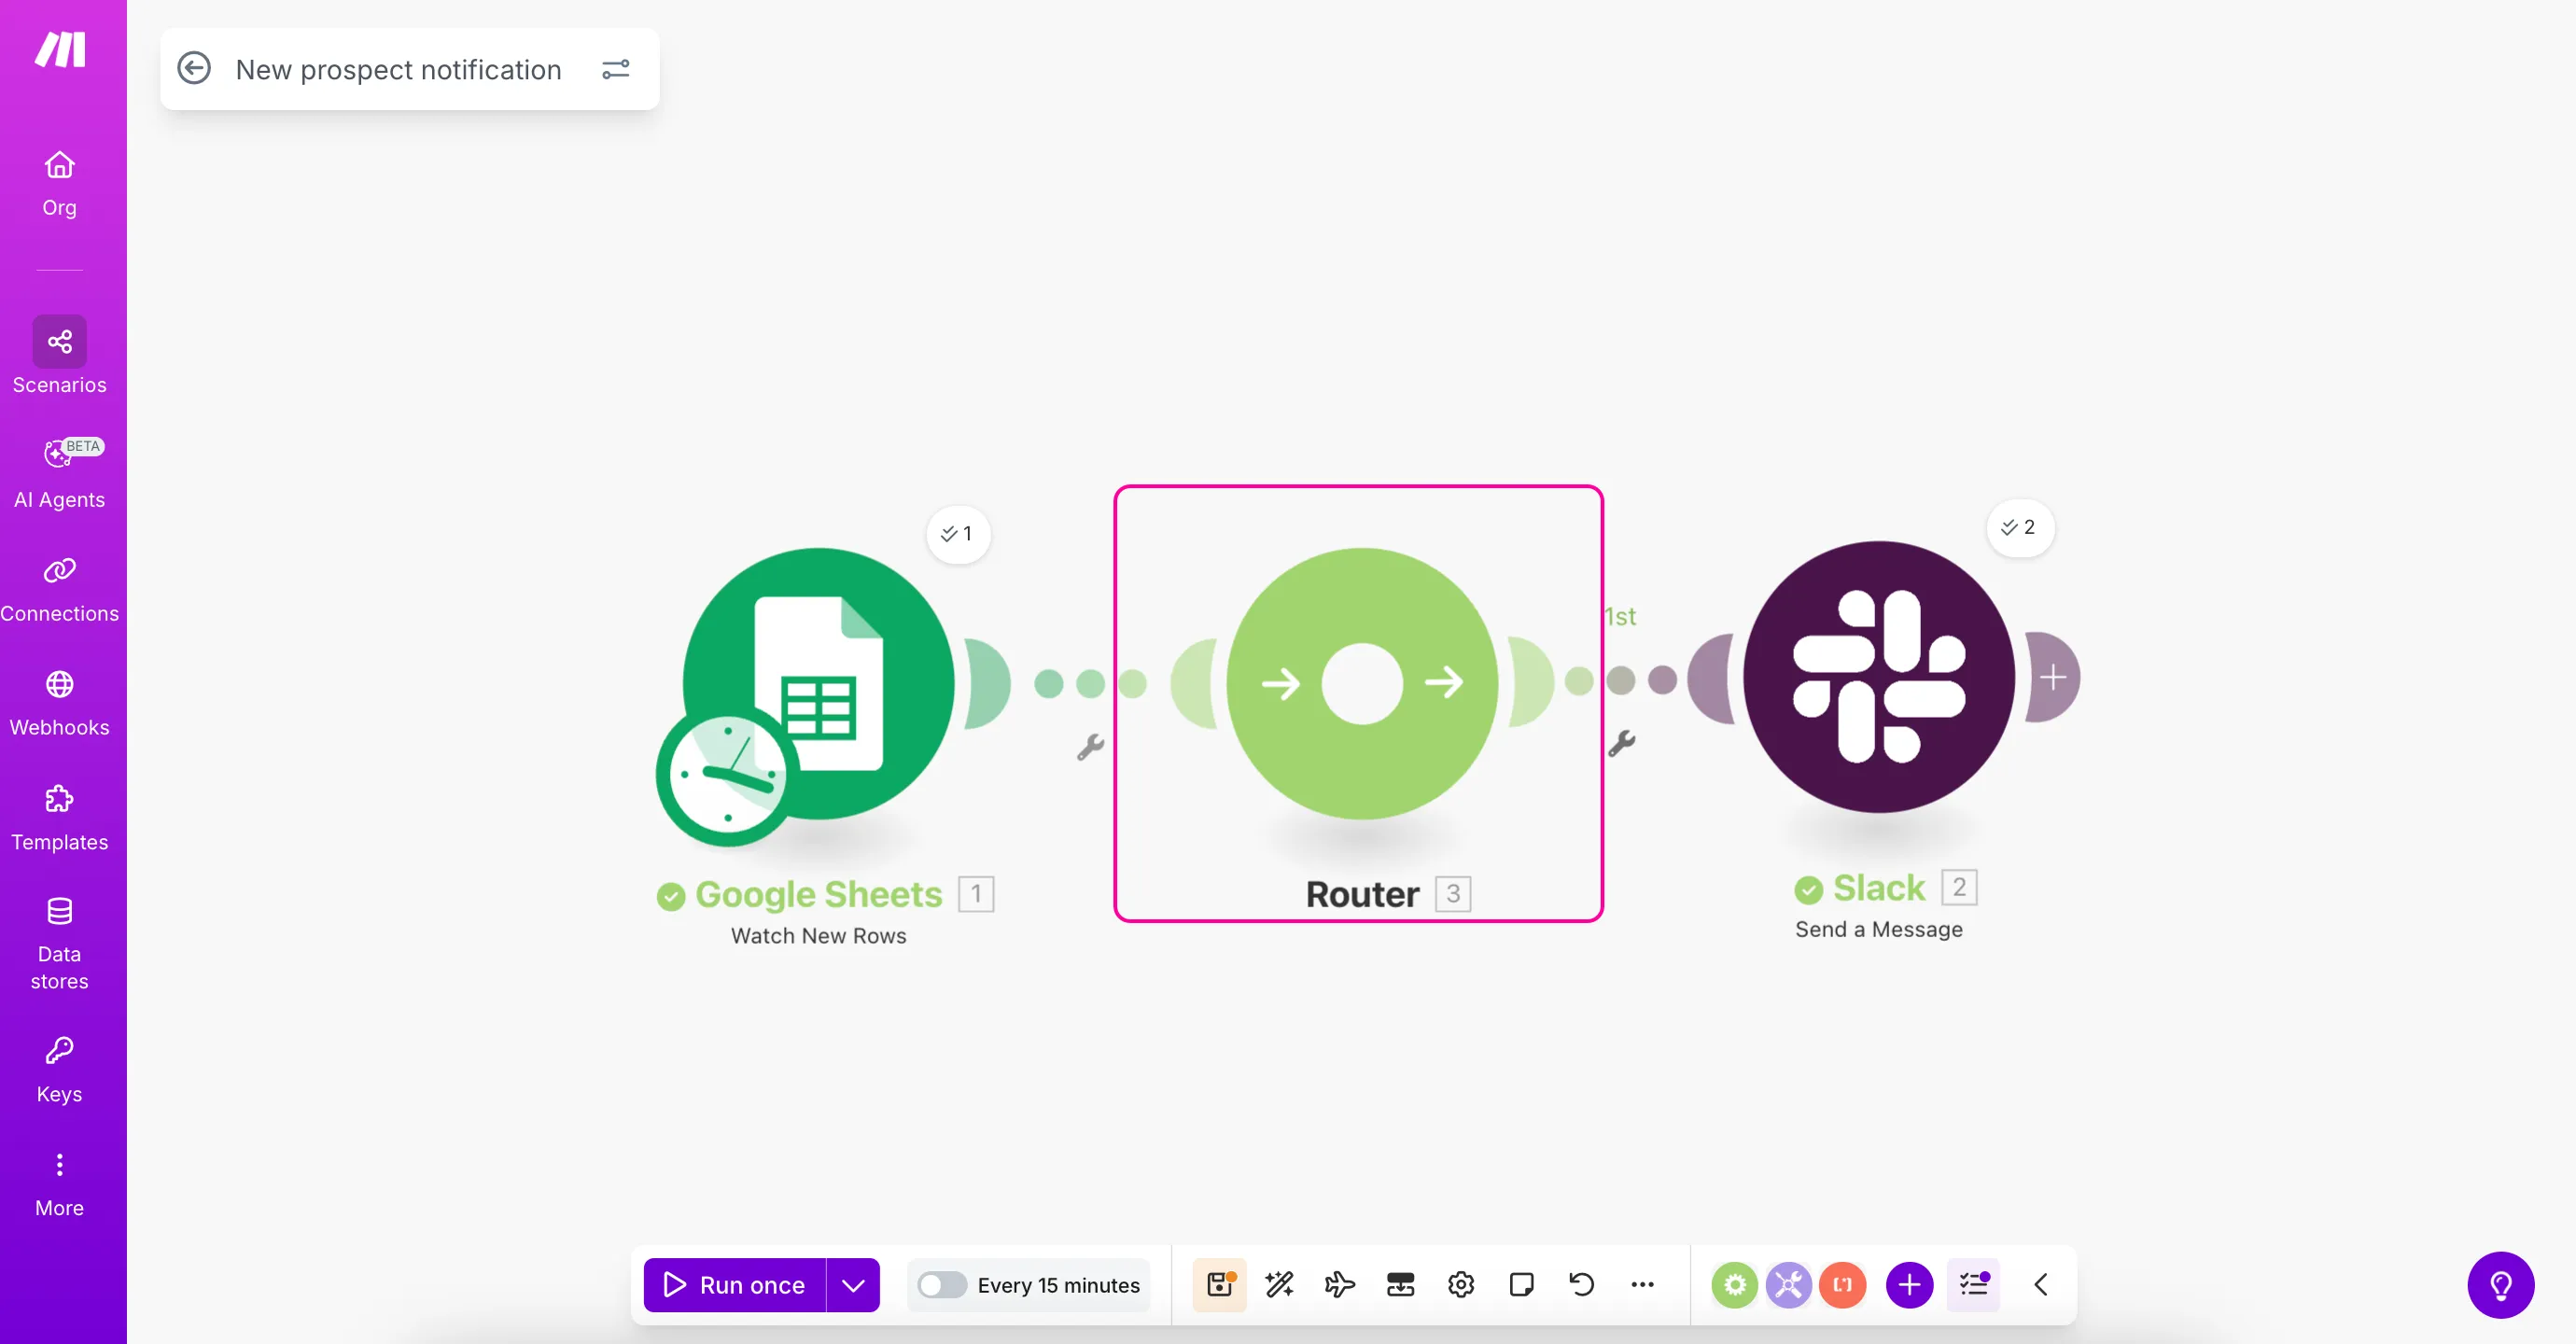
A router module will appear between the modules.
Alternatively, you can add a router the same way you add any other module:
- Click + Add another module on the right side of your module, search for "Router" in the search field, and select Router from the results.
While the right-click option is recommended when you need to place a router between two existing modules, this alternative method adds the router at the end of your scenario. This is useful when building a scenario from scratch, but requires additional reconfiguration when working with existing modules.
Next, hover over the router and click the + icon that appears. This creates a second route that branches from the router.
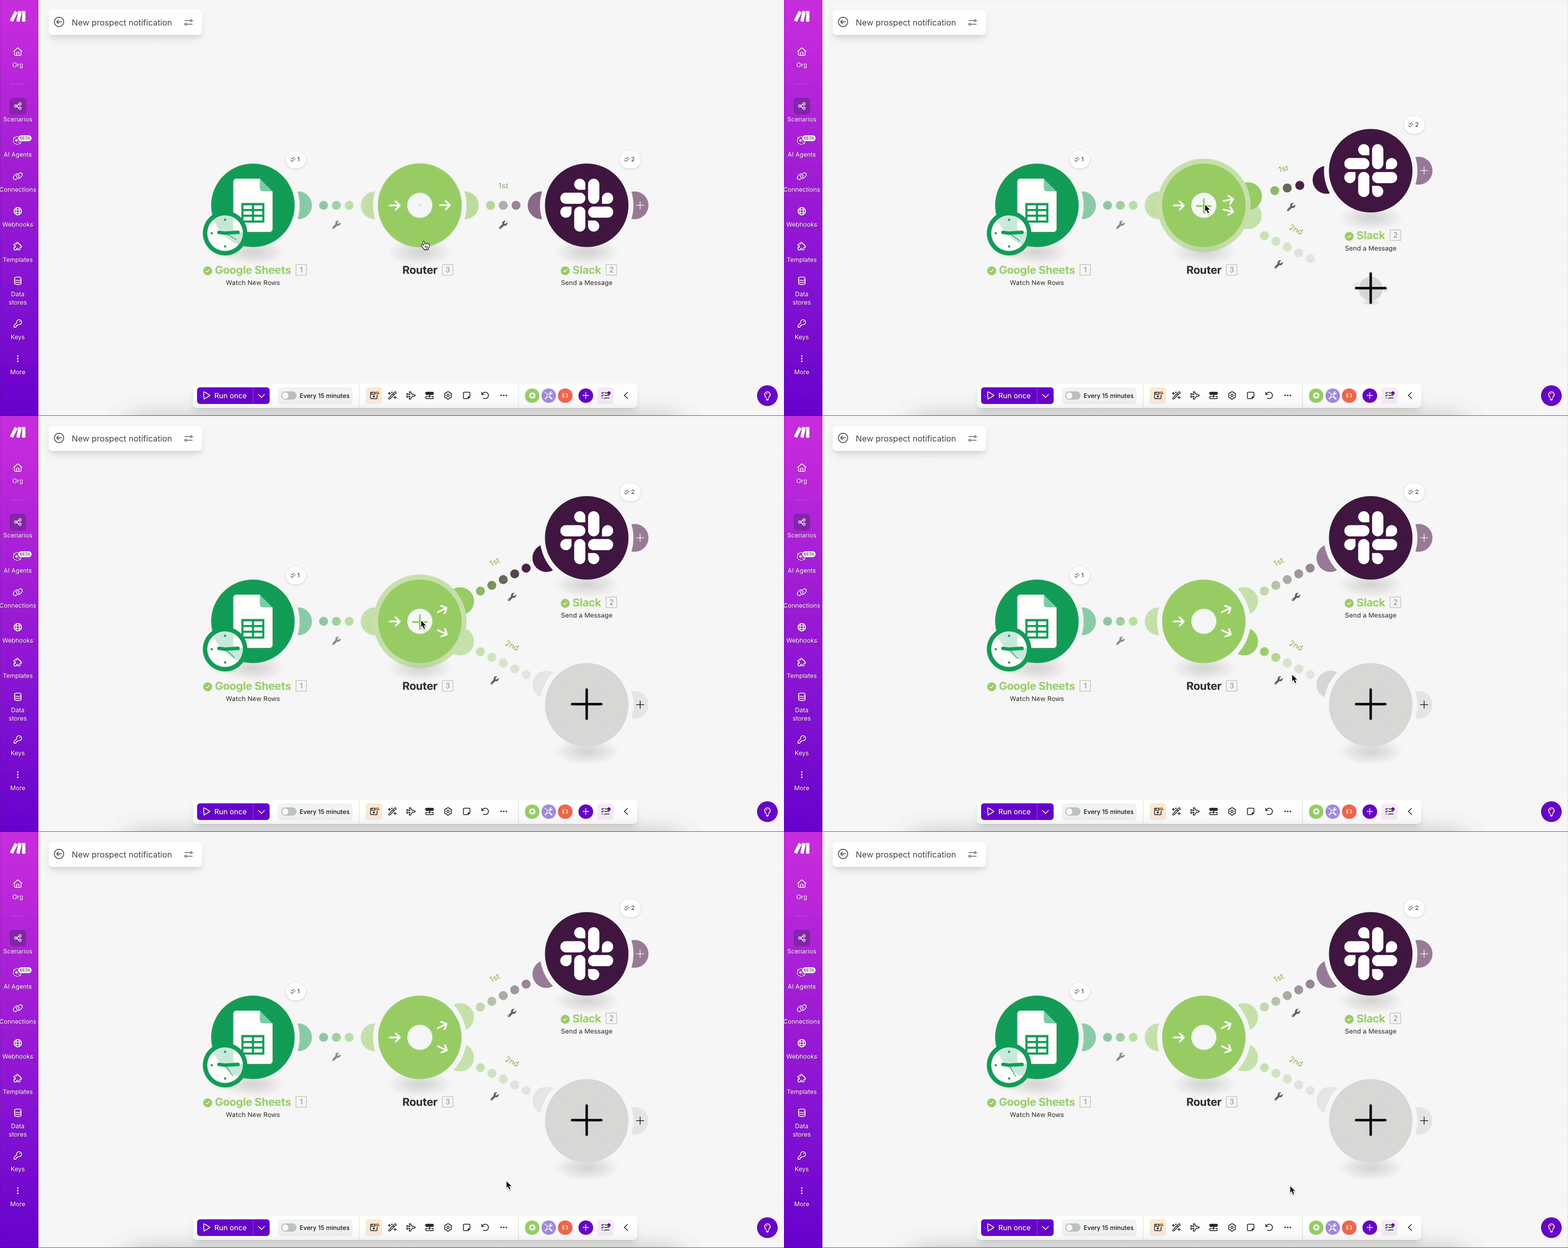
Your scenario now has two routes: the original route to Slack, where all prospects are sent, and a new route that you'll set up in the next step to send only US-based prospects to the mobile app.
Understanding routers
A router is a Make tool that allows you to branch or split your scenario flow into multiple routes:
- Each route after a router can process data differently
- You can add conditions to each route using filters (which we'll cover in Step 4. Add a filter)
- You can direct specific data to different destinations based on your requirements
- Routers don't consume credits, making them efficient for complex workflows